Build the mobility-device plan around the real route.
A spare tube and a charger do not make an evacuation plan. Document the exact chair, scooter, walker, cane or other aid; assign support roles; verify accessible transportation; and practice two exits with the equipment that actually travels.
The bag is only one layer
Questions about wheelchair emergency kits often collapse into a parts list. The harder failures happen earlier: the only exit has stairs, a lift-equipped ride is unavailable, the chair cannot fit a vehicle, the charger is at home, or a helper does not know the transfer method. CDC's disability preparedness guidance therefore treats equipment, communication, support and transportation as one plan.
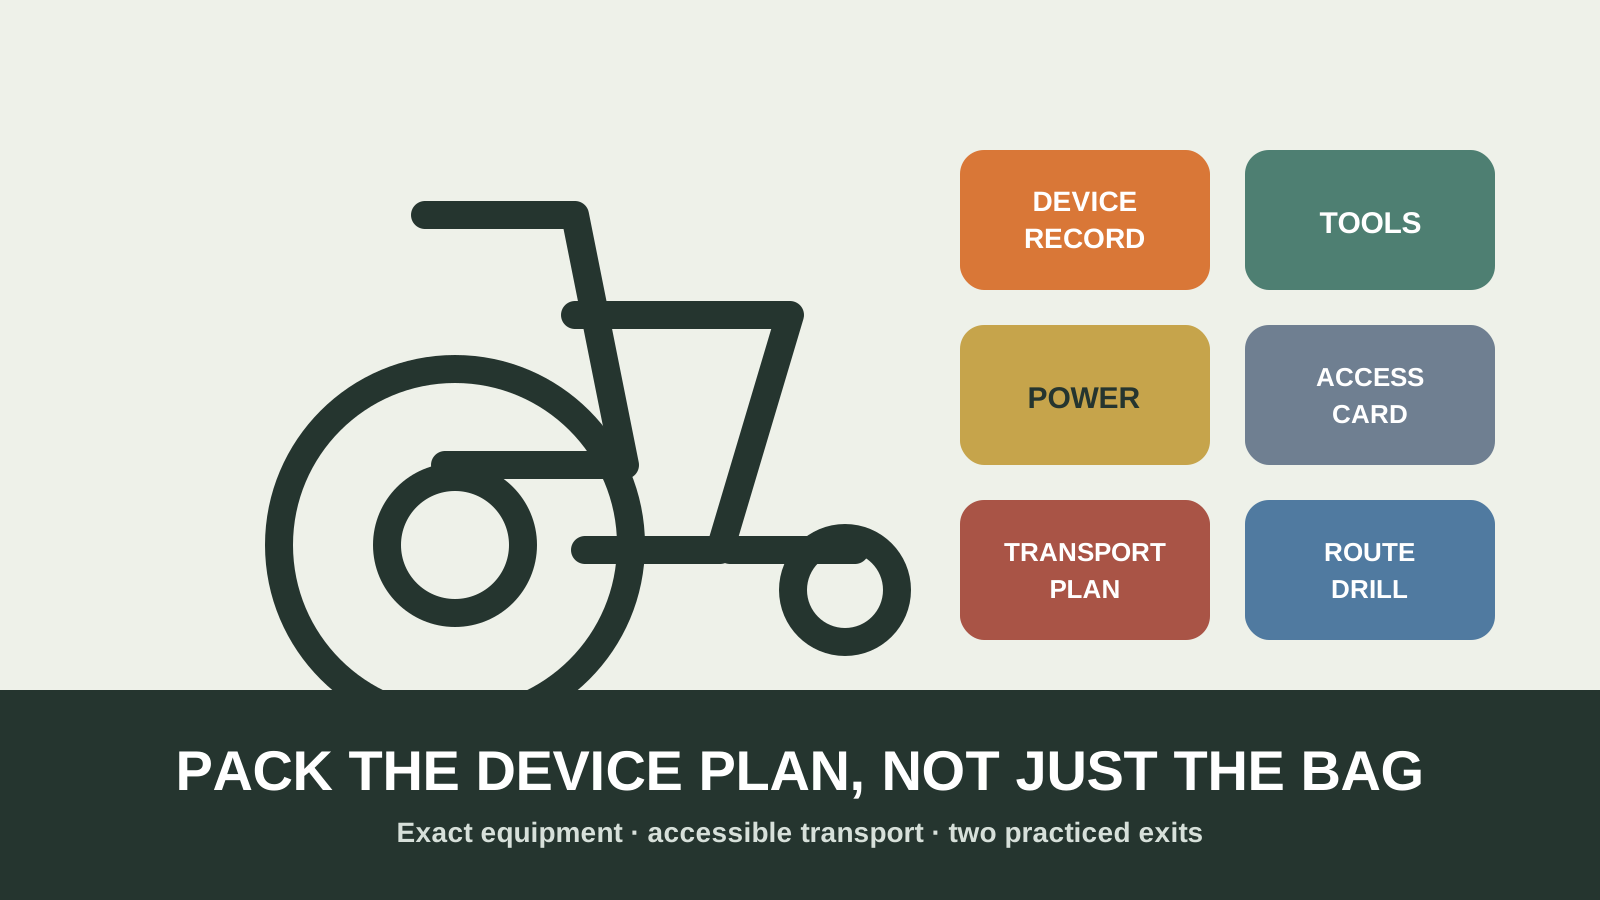
Build six connected layers. Keep the carried pouch small enough to stay with the person; store household supplies separately. A kit that blocks propulsion, changes chair balance, interferes with controls or exceeds a device's safe limits creates a new hazard.
Make, model, serial number, dimensions, weight, battery and safe handling notes.
What the person can do independently and what assistance is requested.
Only verified chargers, tools, spares and instructions for the exact equipment.
Two accessible options, pickup details, securement needs and destination access.
Named people, roles, contact fallbacks and permission to enter or assist.
Two exits, one meeting point and a timed handoff using the complete setup.
Create a one-page device record
Photograph the equipment from several angles and capture its identification plate. Record the make, model, serial number, overall width, length, height and weight; whether it folds or disassembles; the battery chemistry and rating; charger model; control or brake instructions; tire information; and the durable medical equipment supplier. Ready.gov specifically recommends recording the style and serial numbers of support devices and knowing a motorized wheelchair's size, weight and collapsibility for transport.
Add instructions a helper can use without guessing. Mark safe lifting points only if the manufacturer identifies them. Note detachable components that must not be used as handles. Include the person's preferred transfer method, but do not turn the card into a substitute for training. Store a working copy with the device and a protected copy in the emergency document module.
| Record | Why it matters |
|---|---|
| Device dimensions and weight | Helps screen doorways, ramps, lifts, vehicles and securement capacity. |
| Battery and charger label | Prevents incompatible charging and informs transportation handling. |
| Seating and positioning setup | Helps preserve necessary supports when components are removed or replaced. |
| Brake, freewheel and control steps | Reduces damage and unintended movement during a handoff. |
| Supplier and repair contacts | Speeds replacement, parts questions and documentation after loss. |
Pack only verified tools, spares and power
Start with the manufacturer manual and the user's normal maintenance routine. A compact kit might include the exact tools used for approved adjustments, a compatible tube or patch system, a pump that reaches the required pressure, a valve adapter, a small tire-pressure gauge, fasteners or fuses specifically identified for the device, a cover for controls, and high-visibility tape. The correct list varies; generic parts can be useless or damaging.
For powered equipment, connect this module to the medical-device power outage guide. Photograph connector labels. Verify the charger, cable, source, charging time and realistic runtime. Do not assume a power bank or inverter is compatible because the plug fits. Follow the manufacturer and qualified provider instructions for charging, battery storage, transport and water exposure.
CDC suggests extra mobility devices such as a cane or walker when obtainable, and a lightweight manual chair as a backup for a power-chair user if possible. A backup still has to fit, support the person's posture and be usable on the planned surface. Confirm it with the user and relevant mobility or healthcare professional. Practice with it before treating it as an option.
Every packed tool or power item should answer: Which exact device is it for? Which documented task does it perform? When was that task last tested?
Separate evacuation from emergency lifting
Do not write “two people carry the chair” unless the exact method, equipment, user needs and helpers have been professionally assessed and practiced. Some wheelchairs are not designed to carry an occupant on stairs. Detachable backs, armrests and footrests may fail when used as handles. Manual handling can injure the person and helpers.
Use the building's emergency plan and involve the property manager, employer, school, fire-prevention office or emergency manager before a crisis. USFA advises knowing two ways out and, when possible, living or sleeping near an exit or on a ground floor when mobility limits stair use. ADA guidance notes that people with mobility disabilities may need help leaving a building when elevators do not operate. Identify the accessible route, refuge or assistance procedure that applies to the actual building; never assume an ordinary elevator will be available during a fire.
Keep the usual mobility aid reachable from the bed or primary chair. Clear the route of loose rugs, boxes, cords and furniture. Check threshold height, door width, ramp condition, exterior surface and gate access. A route that works in dry daylight may fail in smoke, snow, darkness or after debris shifts.
Build an accessible transportation ladder
CDC warns that planned accessible transportation may not be available during an emergency. Contact local paratransit and emergency management now to learn who provides evacuation transportation, how requests are made, what notice is needed, whether normal reservations continue during disasters, and whether a caregiver, service animal and mobility device travel together.
- Primary ride: name the vehicle, driver or service, pickup point, contact method and chair securement fit.
- Backup ride: use a different person or service, not merely a second phone number for the same vehicle.
- Community option: record local accessible evacuation pickup or registry information where available; verify privacy and update rules.
- Last-mile plan: confirm the route from the home to pickup and from drop-off to an accessible entrance.
Measure before relying on a vehicle. Confirm lift or ramp capacity, doorway clearances, interior height, securement and passenger seating. Ask the user how the device is normally transported. Never improvise tie-down points or ride in an unsafe position.
Check the destination, not just the ride
ADA.gov explains that public emergency programs and shelters must be accessible. That does not eliminate the need to ask practical questions: Is there an accessible entrance from the actual drop-off? Is the route firm, stable and step-free? Are an accessible toilet, charging location, bed or cot, refrigeration and needed support services available? Can the person remain with a service animal and essential equipment?
Choose at least two destinations: a trusted accessible private location and the current community shelter or evacuation process. Conditions change, so confirm again when an event is developing. Keep health and access information with the person and explain assistance preferences at check-in, as CDC recommends.
Write support roles that survive a phone outage
A support network is useful only when each person knows the job. Assign who checks alerts, who brings the mobility pouch, who handles shared supplies, who meets the accessible vehicle, and who contacts the destination. Give every critical job a backup. Share only the information needed for that role and get the user's consent before distributing health, access or entry details.
Write a no-network meeting point and time window. Put a paper contact list in a watertight sleeve. The emergency handoff card can state communication, mobility, transfer, equipment and transport preferences without forcing someone to explain them repeatedly under stress.
Run a route-and-handoff drill
- Start from the sleeping or usual location, not the front door.
- Receive a test alert using the person's accessible alert method.
- Reach the mobility aid and carried pouch without moving obstacles.
- Travel the primary exit with normal clothing, service animal and support people.
- Call or simulate the accessible ride request and give the exact pickup details.
- Use the device card to explain brakes, freewheel mode, detachable parts and securement limits.
- Reach the meeting point and confirm the destination entrance is usable.
- Repeat with the second route and one support person unavailable.
- Record time, pinch points, fatigue, unsafe transfers, dead batteries and confusing instructions.
Do not turn the drill into a risky stair carry, lift or transfer. Stop when the route requires an unassessed maneuver and bring that gap to the appropriate building, fire-safety, mobility or healthcare professional.
Keep a short maintenance clock
| Check | Trigger |
|---|---|
| Device card | New equipment, seating, battery, supplier or repair |
| Tools and spares | After use, service or a change in tire/part specification |
| Power plan | Monthly function check and after any charger or source change |
| Transportation | Service, driver, vehicle, pickup or eligibility change |
| Route drill | At least twice yearly and after a move, injury or building change |
| Support network | Contact, schedule, consent or role change |
Use the six-month kit check as the household reminder, then shorten the interval for anything that changes faster. The safest maintenance record is a dated test, not a checkmark beside an unopened item.
Frequently asked questions
What belongs in a wheelchair emergency kit?
Build around the exact person and device. Useful layers include a device record, verified tools and spares, approved charging equipment, communication and health information, accessible transportation contacts, support roles and supplies for a service animal. The complete plan should be practiced.
Should a power-wheelchair user keep a manual chair?
CDC and Ready.gov suggest a lightweight manual chair as a backup if possible. It still must fit, support safe positioning and work on the planned route. Confirm suitability with the user and relevant professional.
Can helpers carry someone down stairs in a wheelchair?
Do not improvise. Chair design, user needs, stairs, helper training and building procedures all matter. Follow the person's plan, device instructions, building emergency procedure and trained responder direction.
Is a disability registry enough?
No. A voluntary local registry may support planning, but availability, activation, confidentiality and response vary. Keep personal transportation, support and communication backups and update any registration as required.
Sources checked
- CDC — Making an Emergency Plan
- CDC — Building an Emergency Kit
- CDC — Sheltering and Evacuating
- U.S. Department of Justice — Emergency Planning and the ADA
- Ready.gov — Preparing Makes Sense for People with Disabilities and Other Access and Functional Needs
- U.S. Fire Administration — Fire Safety for People with Disabilities
Research reviewed November 9, 2026. Follow current device instructions, the person's preferences, local emergency procedures and advice from qualified mobility or healthcare professionals.